Setup the preferred GPU with Windows settings
Laptops with an Intel CPU usually come with two integrated graphic cards. The default one the laptop starts up with would be one such as Intel HD graphics. OpendTect however will have the best performance when using the Nvidia GPU. Therefore that one should be used instead.
When OpendTect starts it will scan your graphics card. If it finds an Intel card there will be a warning message: 'Intel card found. If your computer has multiple graphics cards, consider switching from the integrated graphics.'
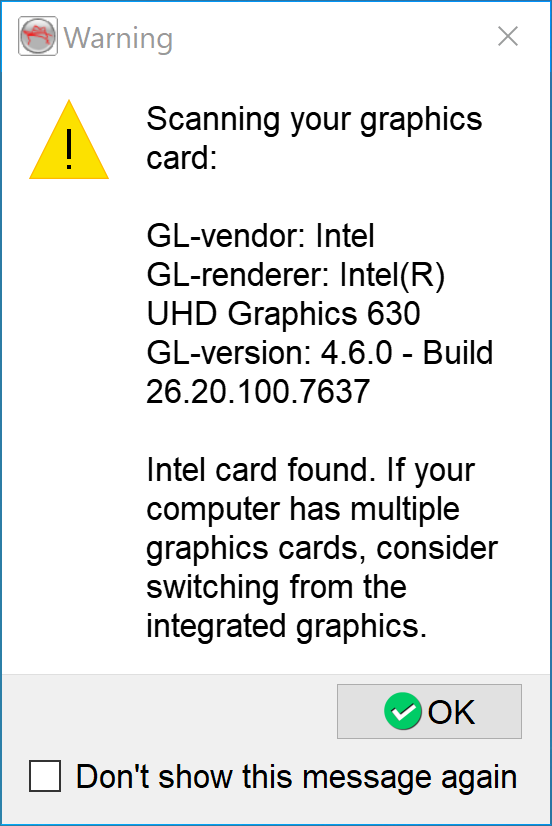
Figure: Warning message about the Intel card
From Windows 10 feature release 20H2 and onwards and Windows 11 the Nvidia GPU can be made the preferred GPU with the Windows settings. We assume that you have installed the latest Nvidia driver that is available for your GPU. If not then please go to the Nvidia website and download and install the latest driver for your type of GPU.
In case you are running Windows 8.1 or 10 feature release 2004 or older the preferred GPU has to be
Please do the following on Windows 10:
- Click the Start icon and then go to Settings > System
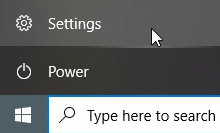

Figure: Navigating to the Windows 10 System settings - Windows settings should open the display settings. Browse down to Graphics settings and click it.
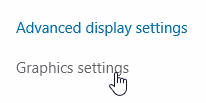
Figure: Display > Graphics settings - Now choose an app to set the preference. OpendTect is a desktop app, so make sure that the drop down bar has "Desktop app" selected. Now click the "Browse" button and navigate to the OpendTect installation directory, e.g.: C:\Program Files\6.6.0\bin\win64\Release and add od_main.exe
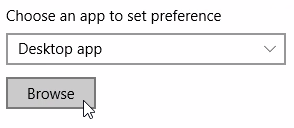
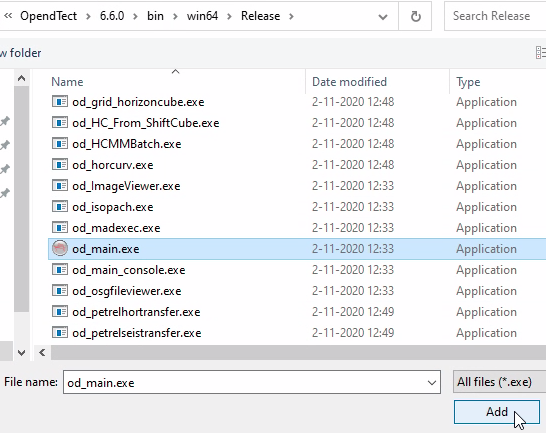
Figure: Choosing od_main.exe to set the GPU preferences - Now click the "Options" button and choose the High performance option and clicking the "Save" button for setting the Nvidia GPU as default for OpendTect.
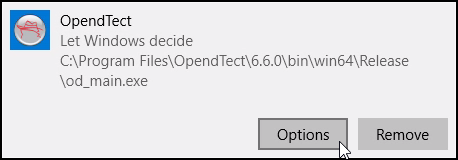
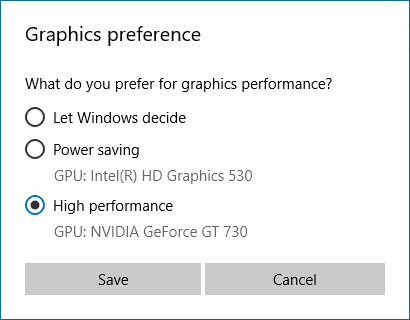
Figure: Setting the Nvidia card as high performance graphics preference for OpendTect - The next time you start OpendTect it should no longer show the Intel card found message popup. To check the graphics card used in OpendTect you might want to check Utilities > Installation > Graphics Information. It should now show the Nvidia card information and driver version.
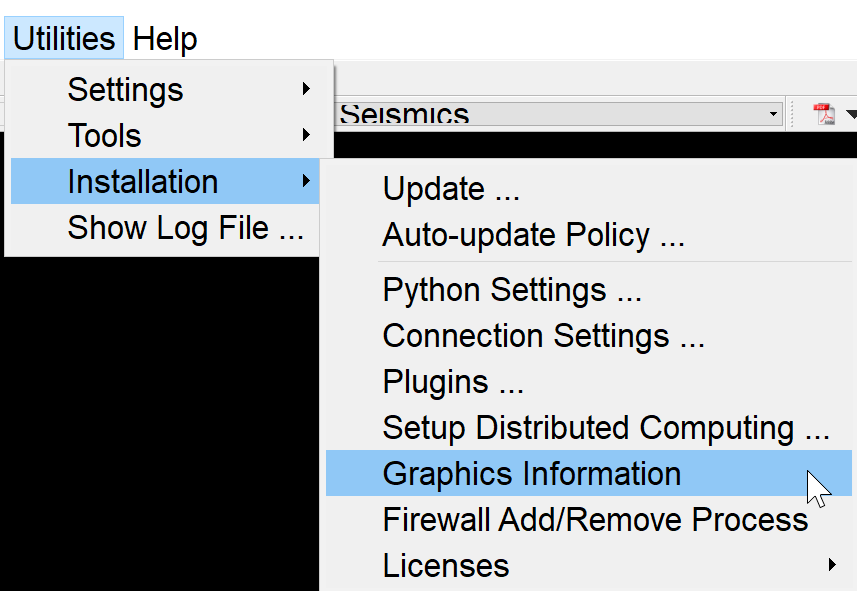
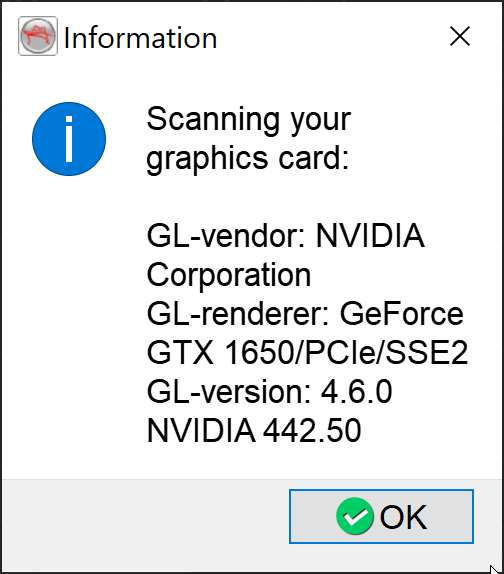
Figure: Check which graphics card OpendTect uses
Please do the following on Windows 11:
- Click the Start icon and then go to Settings > System > Display
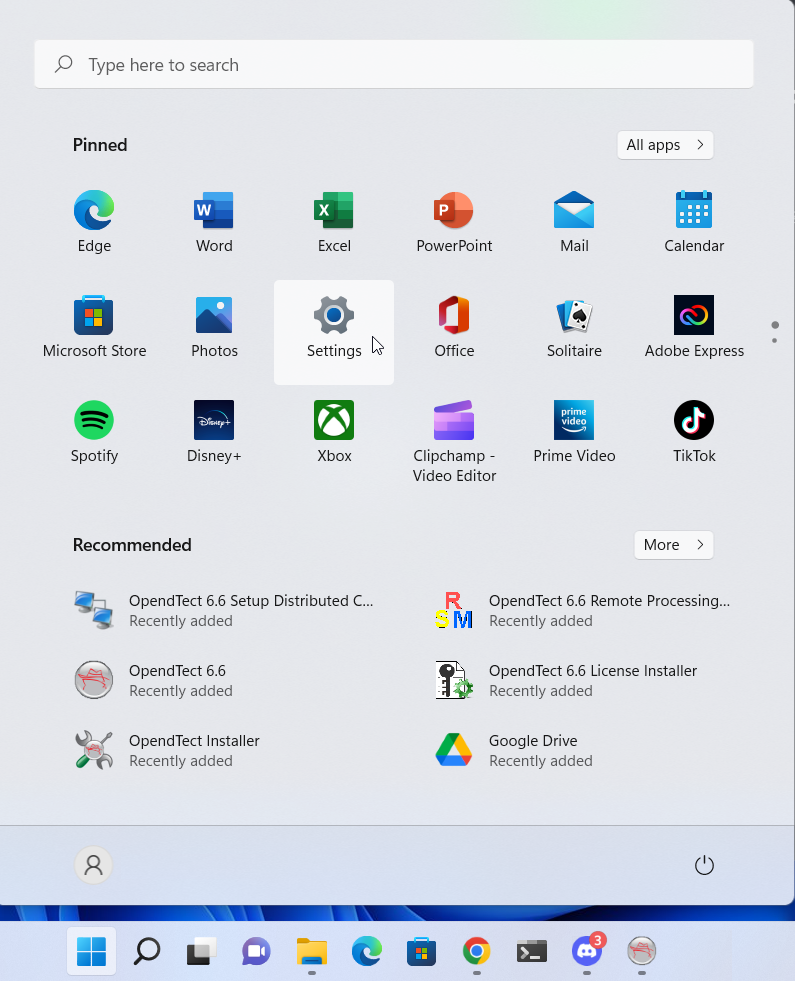

Figure: Navigating to the Windows 11 System > Display settings - Windows settings should open the display settings. Browse down to Graphics settings and click it.
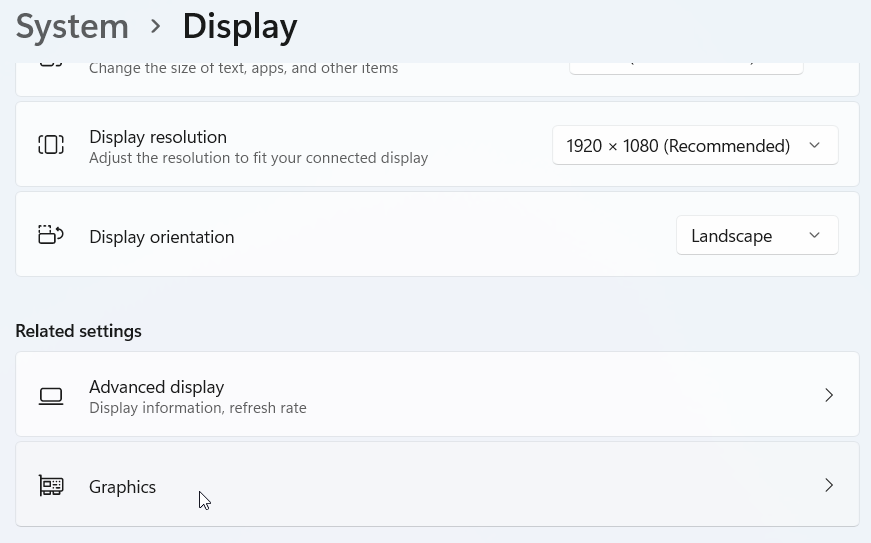
Figure: Display > Graphics settings - Now choose an app to set the preference. OpendTect is a desktop app, so make sure that the drop down bar has "Desktop app" selected. Now click the "Browse" button and navigate to the OpendTect installation directory, e.g.: C:\Program Files\6.6.0\bin\win64\Release and add od_main.exe
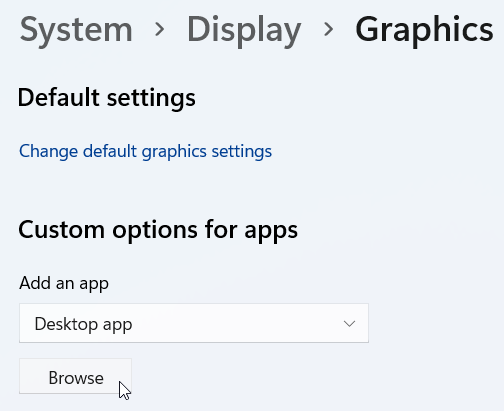
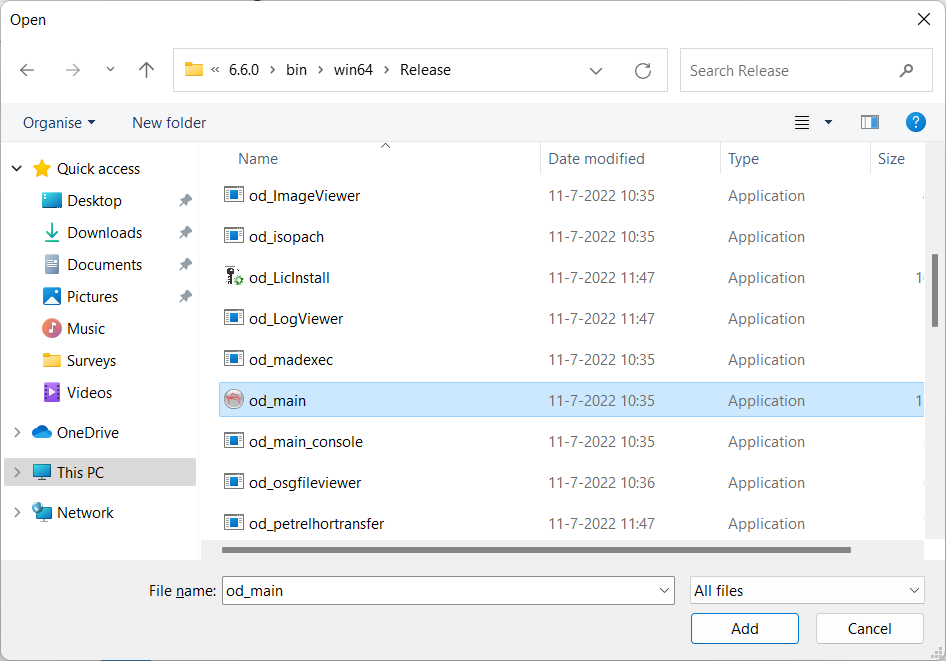
Figure: Choosing od_main.exe to set the GPU preferences - Now click the "Options" button and choose the High performance option and clicking the "Save" button for setting the Nvidia GPU as default for OpendTect.
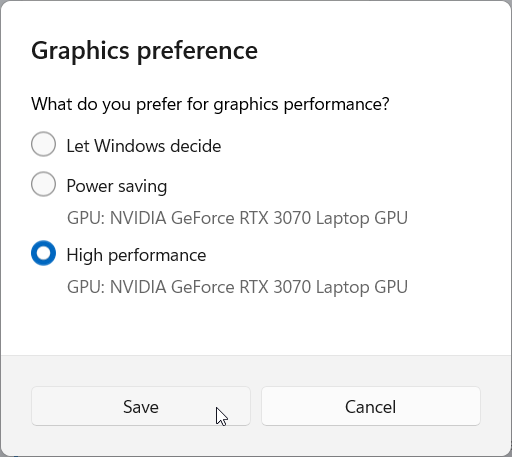
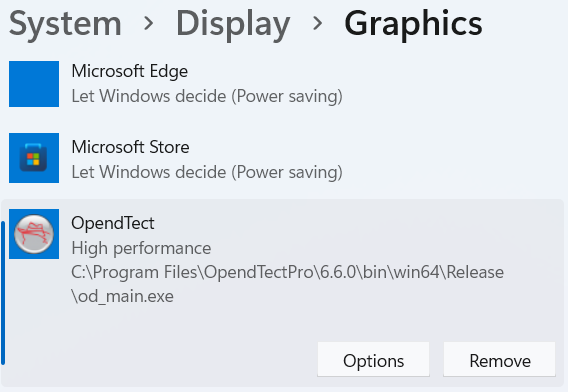
Figure: Setting the Nvidia card as high performance graphics preference for OpendTect - The next time you start OpendTect it should no longer show the Intel card found message popup. To check the graphics card used in OpendTect you might want to check Utilities > Installation > Graphics Information. It should now show the Nvidia card information and driver version.


Figure: Check which graphics card OpendTect uses