7.2 WCP Main Window
The 'Well Correlation Panel' is launched from the Analysis menu:
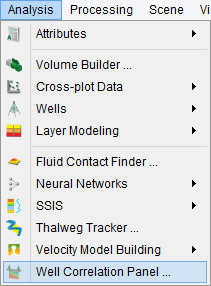
The application can also be launched in the OpendTect main menu (Analysis > Well Correlation Panel) or by clicking the 'WCP' icon![]() in the main toolbar. In the following window, input data-type is needed, e.g. Inline/Crossline or a 2D line.
in the main toolbar. In the following window, input data-type is needed, e.g. Inline/Crossline or a 2D line.
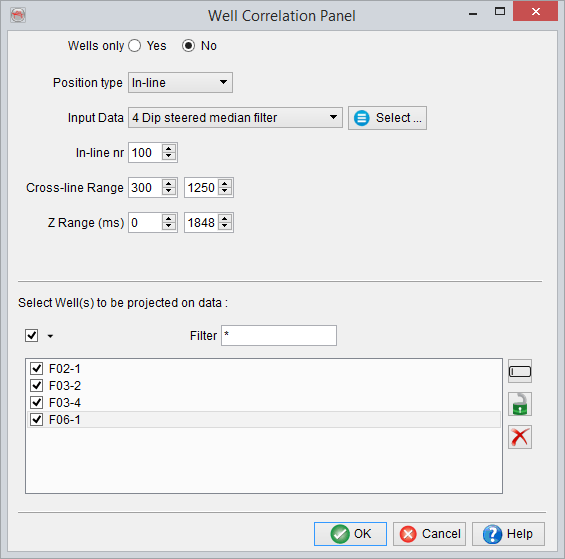
Select Data Type:
- 2D Line: Correlates a 2D line close to selected wells. A sub-selection can be made for the line-set and the corresponding line. Furthermore, a trace sub-selection can also be made if the line is too big and the wells lie within the defined trace range.
- Inline/Crossline Used to select a 3D seismic data (inline/cross-line) close to the selected well.
Selection of key wells:
- The selected wells are projected onto selected data (2D/3D line). One or several wells can be selected in the well list. To select all, please use left mouse button (select and drag down the list). Optionally, use CTRL key plus left mouse click(s).
Create a 2D line (from 3D) between wells
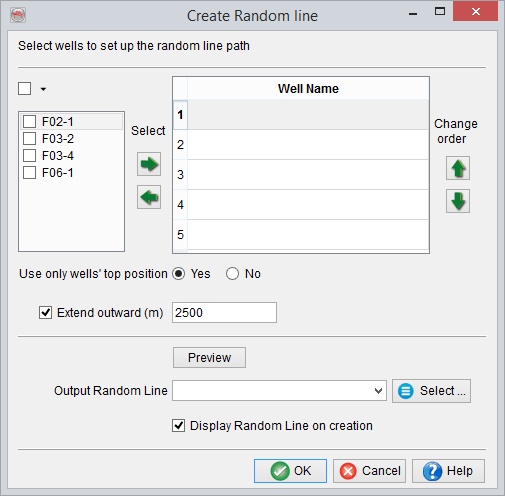
A 2D line created from 3D seismic data can be created directly in the WCP input data selection window. To define a random line geometry connecting the wells, selected the wells from the left panel using the arrow(s). The table is filled and ordered according to the selection made. However, the order of the wells can be changed using the top/bottom arrows available for the Change Order option. Optionally, the geometry can be visualized in a 3D Scene by pressing the Preview button. The geometry of the random line (Start at) can either be defined by the top position of a well or by a bottom position of the well (deviated wells). The extend outward field is by default set to 2500m such that the line is extend 2500m away from the first and the last well positions.
Once the geometry of the random line is defined, select the 3D seismic volume and provide a name to this line and corresponding line-set. This stores the geometry of random line as a 2D line, which can be loaded later. Now, this stored 2D line can be used as an input seismic data type for the WCP.
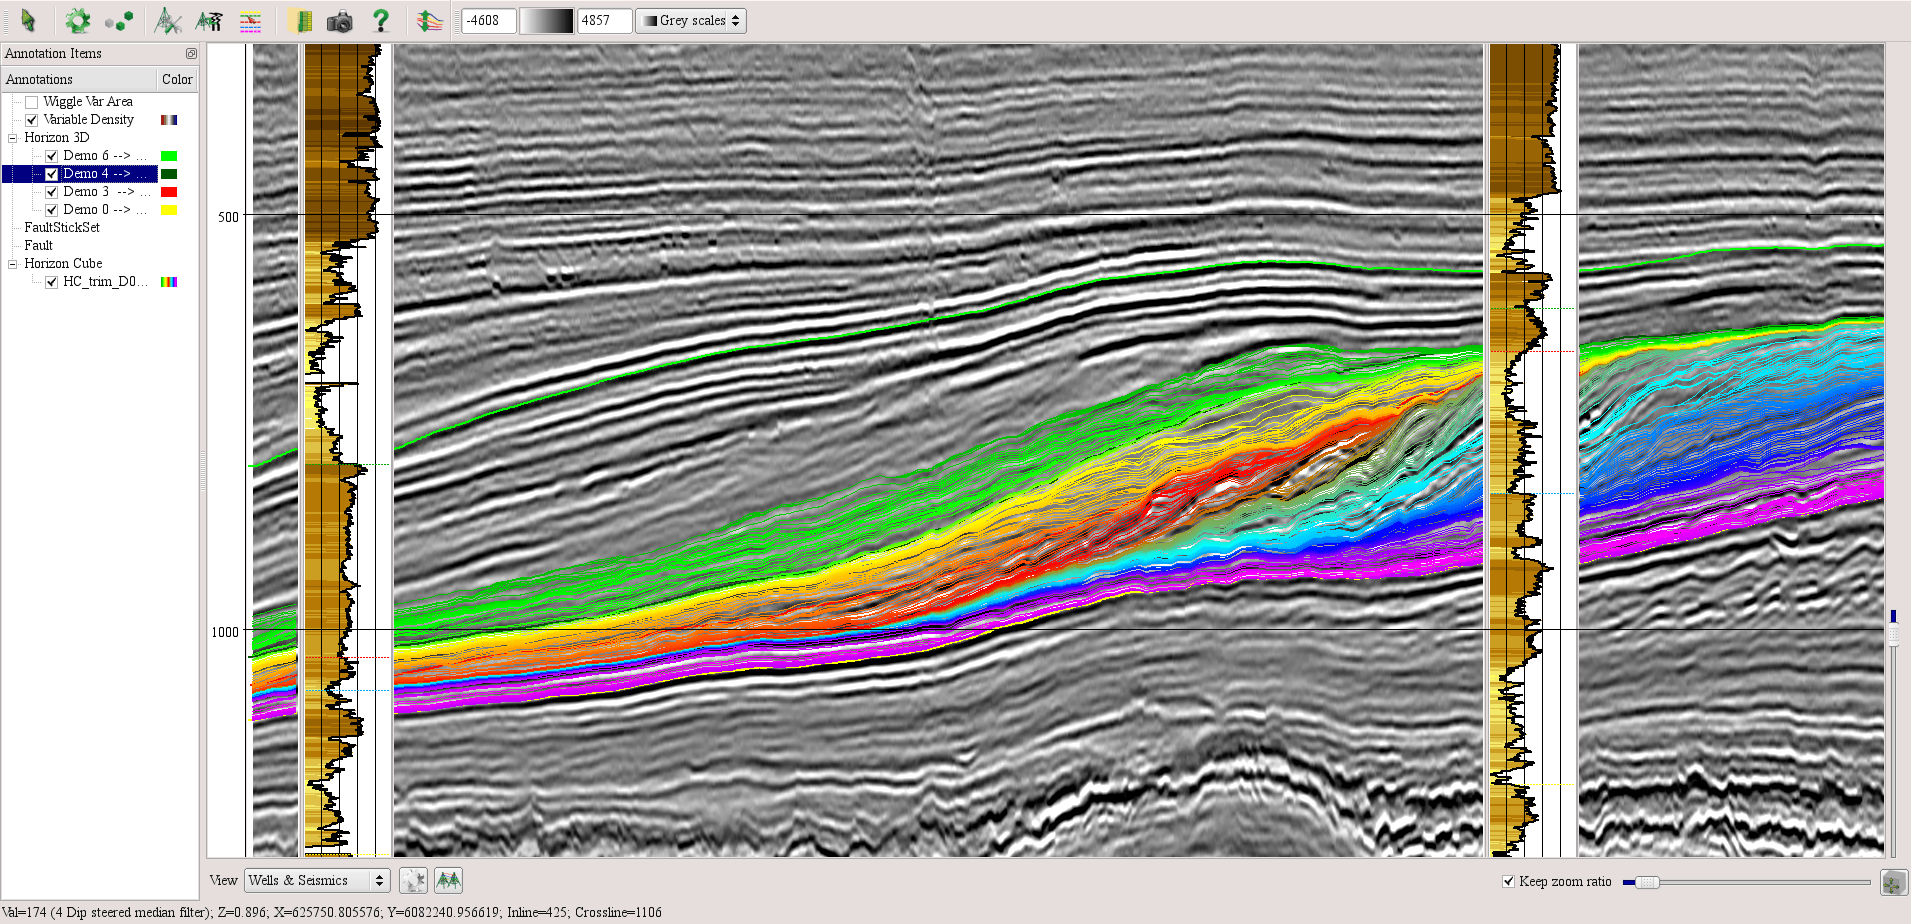
WCP Toolbar Icons
![]()
![]()
![]()
![]()
![]()
![]()
![]()
![]()
![]()
![]()
The top toolbar for the well correlation panel.
-
 Pan the display and pick horizons/markers on the seismics/well.
 -
 Set the color properties (change/clip the colour and its range) of the seismic data.
 -
 Seed Mode: Start 3D/2D horizon picking on the displayed seismic data.
 -
 Set the well properties, e.g. select logs for a well, fill logs with colours, display stratigraphic column, or add more log panels.
 -
 Launch the seismic-well tie module of OpendTect. Please press F1 key and browse to section 6.4 for further details.
 -
 Pick Markers: Pick new/modify well markers in the displayed wells.
 -
 Manage Stratigraphy Launch the stratigraphy management window of OpendTect.
-
 Snapshot tool: Grab an image of the correlation panel.
 -
 Help documentation on Well Correlation Panel.
 -
 HorizonCube Slider: Active when the HorizonCube has already been displayed in the panel.
 -
 Toggle WCP view e.g. Display wells only, seismic only seismic and well together.
 -
 Create various displays: wells on top of seismic, wells as separate panel, equidistant wells correlation.
 -
 Correlate markers by drawing a marker connection.
 -
 Re-sets the zoom of the display to a default preview i.e. entire seismic transect is shown.
 -
 Associated with the zoom (in/out) sliders. It is checked by default to keep the vertical and the horizontal ratio equal while either slider (vertical/horizontal) is moved to zoom/unzoom the display.