4.5.15 Manage Stratigraphy
The Manage Stratigraphy window can be launched with the ![]() icon from OpendTect Manage toolbar or via Survey > Manage > Stratigraphy... This window is designed to arrange the stratigraphic markers and the geological sub-units. It is used as base for the Layer Modeling.
icon from OpendTect Manage toolbar or via Survey > Manage > Stratigraphy... This window is designed to arrange the stratigraphic markers and the geological sub-units. It is used as base for the Layer Modeling.
The first time you open the manager, a pop up window gives the options to either: 1) build a new stratigraphy from scratch or 2) to open an existing one (North Sea or Simple Reservoir). These two saved stratigraphy description are saved by default in another type of format. If edited, the edited version will be saved as classical stratigraphy description. Once the selection has been done, it is set as default. To re-access the selection window click on the![]() icon to create/open a new description.
icon to create/open a new description.
The user can create a specific information about the project and the different regional markers of his/her interpretation. This window is organized as units/sub-units bounded by different stratigraphic markers. Markers are assigned to the category the most on the right of the stratigraphic column. Depending upon user's description, markers can have the same name as seismic horizons or well markers and the units the names of epochs/eras.
To start, the user has two ways to display the stratigraphy tree: the time view and the tree view. The time view is chosen to display the absolute geological time while the tree view shows an overview of unit/sub-unit as leaves.
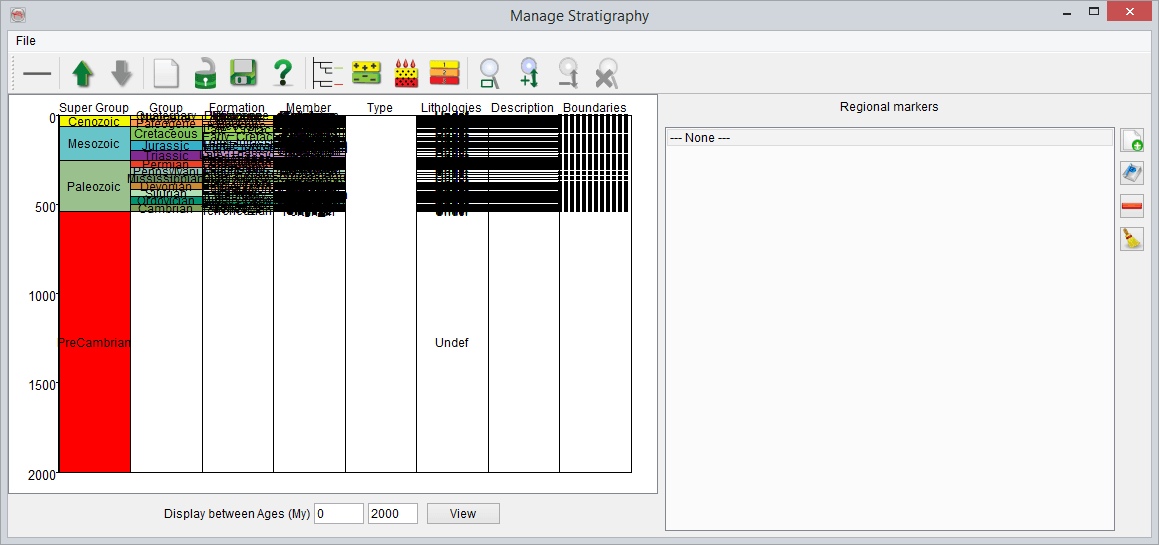
Stratigraphy window: The time view
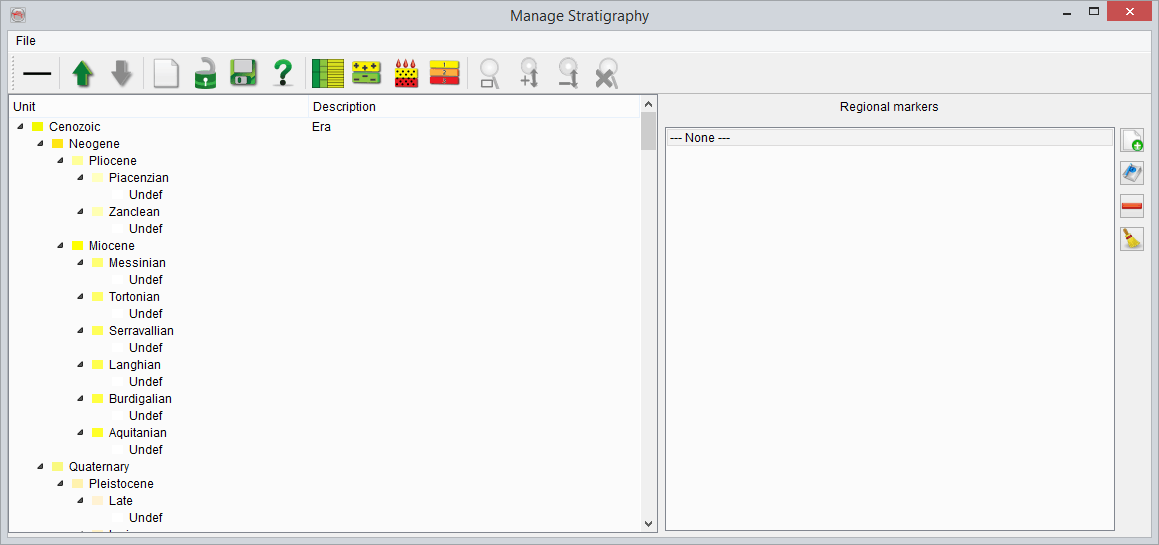
Stratigraphy window: The tree view
- Regional Markers:
The regional markers can be associated to boundaries of stratigraphic units. These markers are added on the right-hand panel. Right click on ---None--- in the regional markers panel. And in the pop-up menu select the Create New... option. In the CreateLevel window, write an appropriate name for the stratigraphic marker and optionally provide the color. Press Ok to add the marker. They should have a coherent name. In the Well Marker Manager, markers can be linked to a regional marker and will be then renamed after it.. The inserted marker can then be assigned/linked as a top and base of the stratigraphic unit.
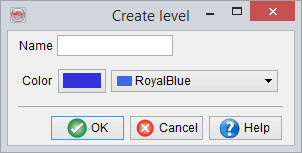
- Stratigraphic Units:
On the left hand side of this window, the units are classified in a way that the top and base of each unit belong to certain marker. For the initial unit, right-click on <Click to Add>, the stratigraphic unit editor will pop up:
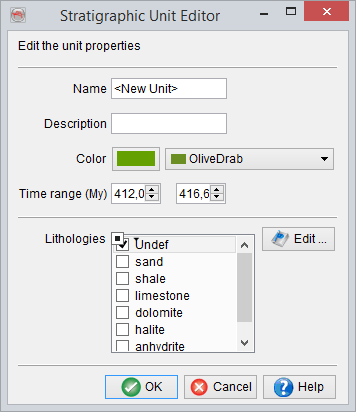
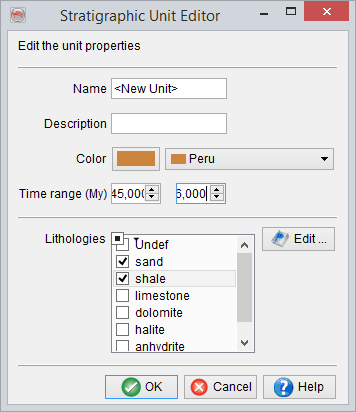
In this window, give a name of the unit area, the description, color, the age and lithology.
The minimum requirement for creating a new unit is simply to define the name.
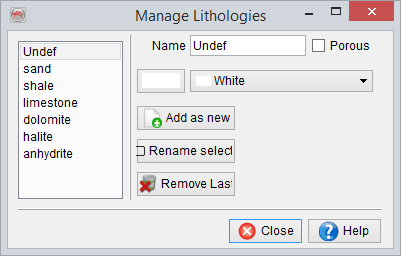
To add a lithology: Click on "Edit" then give the name, and optionally specify porosity then Add as new, click on Ok.
To add a sub-unit, right-click the unit name and select Create sub-unit, and define it in the same manner as a unit. Description and lithology of the unit can be added now or edited later.
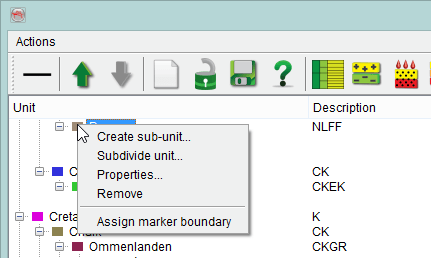
Stratigraphic unit properties: Properties such as unit/sub-unit description and lithology can be defined or edited by right-clicking on the unit/sub-unit name and selecting Properties. A unit/sub-unit specific lithologic name can be entered directly into the Lithology field. For lithologies that may occur in multiple units/sub-units, a lithology can be defined and made universally available by clicking the Select button next to the Lithology field. In this Select Lithology window, the lithology type can be named, and added to a list that will be made available for all units/sub-units in this session. (Depending on your Save settings, these lithologies can be available outside of this session.) These options can also be defined when the unit/sub-unit is first added.
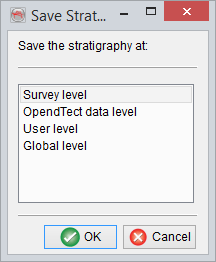
Save as: The defined stratigraphy can also be saved at different levels, e.g. Survey levels, OpendTect data level, User level, or Global level. For instance, if it is saved at Survey level, the stratigraphy will only be available for this survey. Alternately, if it is saved at a higher level, it will not be limited to only the survey in which it was defined.
Assign Marker boundary:
This option links the regional markers with stratigraphic units. Right-click on boundary or unit/sub-unit then click on Assign marker boundary select regional markers top and bottom that are the appropriate boundaries for the unit/sub-unit.
