9.4.3 Python Settings, Data Flow and Data Management

OpendTect Machine Learning comes with its own Miniconda Python environment. Users who prefer to work in a private Python environment can change the Python environment here. If a Custom environment is selected you need to specify the root of the environment. The Virtual environment: odmlpython-cuda10 runs models on the GPU; odmlpython-cpu-mkl runs on the CPU. Computations on a GPU are many factors faster than computations on a CPU. If the GPU in your environment is too small for certain jobs to run you can switch virtual environments to CPU usage.
The Custom Module Path is the path for Python developers in which they develop private Machine Learning Models in this environment. All models in the given directory, which are named: ‘mlmodel….” will appear in the UI of the Machine Learning Control Center and can thus be applied to other data sets.
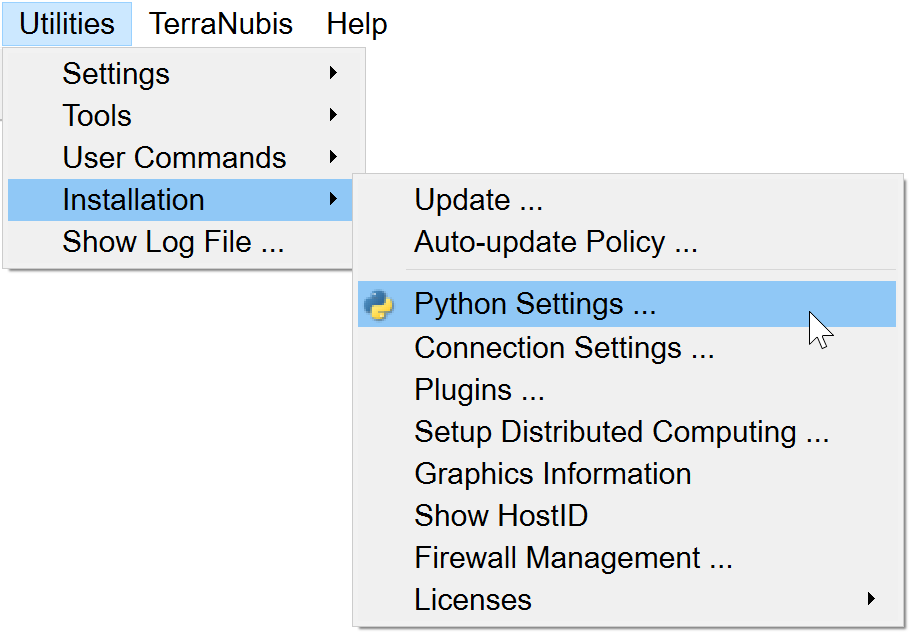
When the Python ecosystem has been installed, the link between OpendTect and Python can be set up and customized through a dedicated settings dialog in the OpendTect utilities menu (above image).
The default Python environment will point to the Python packages installed using the installation manager, if they have been installed.
Three options are available:
Internal(default option) if the environments provided by the installer are installed.
System installation of Python
Custom if a user has their own Python environment installed:
For advanced users who have their own Python environment or which are using a distribution of Python such as anaconda, the Python settings can be altered to have OpendTect to use it directly instead of the Python distribution provided with OpendTect.
The user must ensure that the selected “Custom” environment contains all the Python modules required by the OpendTect Machine Learning plugin. These are specified in the plugin’s documentation.
The user can add the path of its Python source code, to locally installed Python modules in the “Custom Module Path”. Such that it becomes accessible to extend the capabilities of the Machine Learning plugin by adding new custom models to train on. This path will be added to the PYTHONPATH of Python environments launched by OpendTect. The default location is under ($HOME, or $HOME/.od).
The Edit button allow easy editing of the file without leaving OpendTect.
![]() This testing tool option, checks if OpendTect can run Python commands and retrieve their output. It shows a list of the installed modules for the selected setup.
This testing tool option, checks if OpendTect can run Python commands and retrieve their output. It shows a list of the installed modules for the selected setup.
The user can also launch a terminal/ console prompt with the selected environment activated. Such window can be launched anywhere in OpendTect using the short-key CTRL-T.
The Python IDE Command is the Python editor you wish to use. You can launch the IDE using the specified Command, Optionally with some Arguments from a Python Command Window. Alternatively, you can add an icon to your plugin toolbar by pressing the corresponding icon in this window. In this case the Spyder icon with Spyder Tool Tip is added to the icon toolbar, as seen in the image below:
Pressing this icon from the toolbar will launch Spyder with the correct settings. The Python environment can be tested with the Test icon.
The general flow of a Machine Learning workflow is as follows:
- Based on the data you have and the problem you want to solve: Select a workflow from the control center
- Create a Training Set. Construction starts with a selection of the Target (output) feature. Next you select the input features and the dimensions of the input features. Training Sets can be constructed from real data over multiple surveys or from synthetic data (SynthRock). Training Sets selection files can be saved, restored and edited. Training Sets themselves are stored in hdf5 format. These files can be managed from the Manage Machine Learning icon.
- Select a Model. Depending on the workflow the plugin supports Machine Learning Models from Scikit Learn and/or from Keras (TensorFlow). Set the Training Parameters and train the model. A Test Set to monitor Overfitting is automatically split off from the Training Set by the software. Models are also stored in hdf5 format and can be managed from the Manage Machine Learning icon.
- Monitor training. This is done in a log file that outputs information about the loss and accuracy of the model for both Training and Test Sets. Keras models are also monitored graphically in TensorBoard, which is started in your default browser when training starts. Models can be trained from scratch (New), continued from a stored model (Restore) and continued from a trained model with new data (Transfer). In Transfer training the convolutional parts of a deep learning model are not updated to safe time. Only the weights of the last layer are updated with the new training examples.
- Apply the trained model. Select the input data set(s) on which the trained models will be applied.
Training Sets can be managed in the “Machine Learning Deep Example Sets” window that is launched from all windows with a “Manage Example Sets” icon ![]() next to a Select button. The “Machine Learning Deep Example Sets” window pops up.
next to a Select button. The “Machine Learning Deep Example Sets” window pops up.
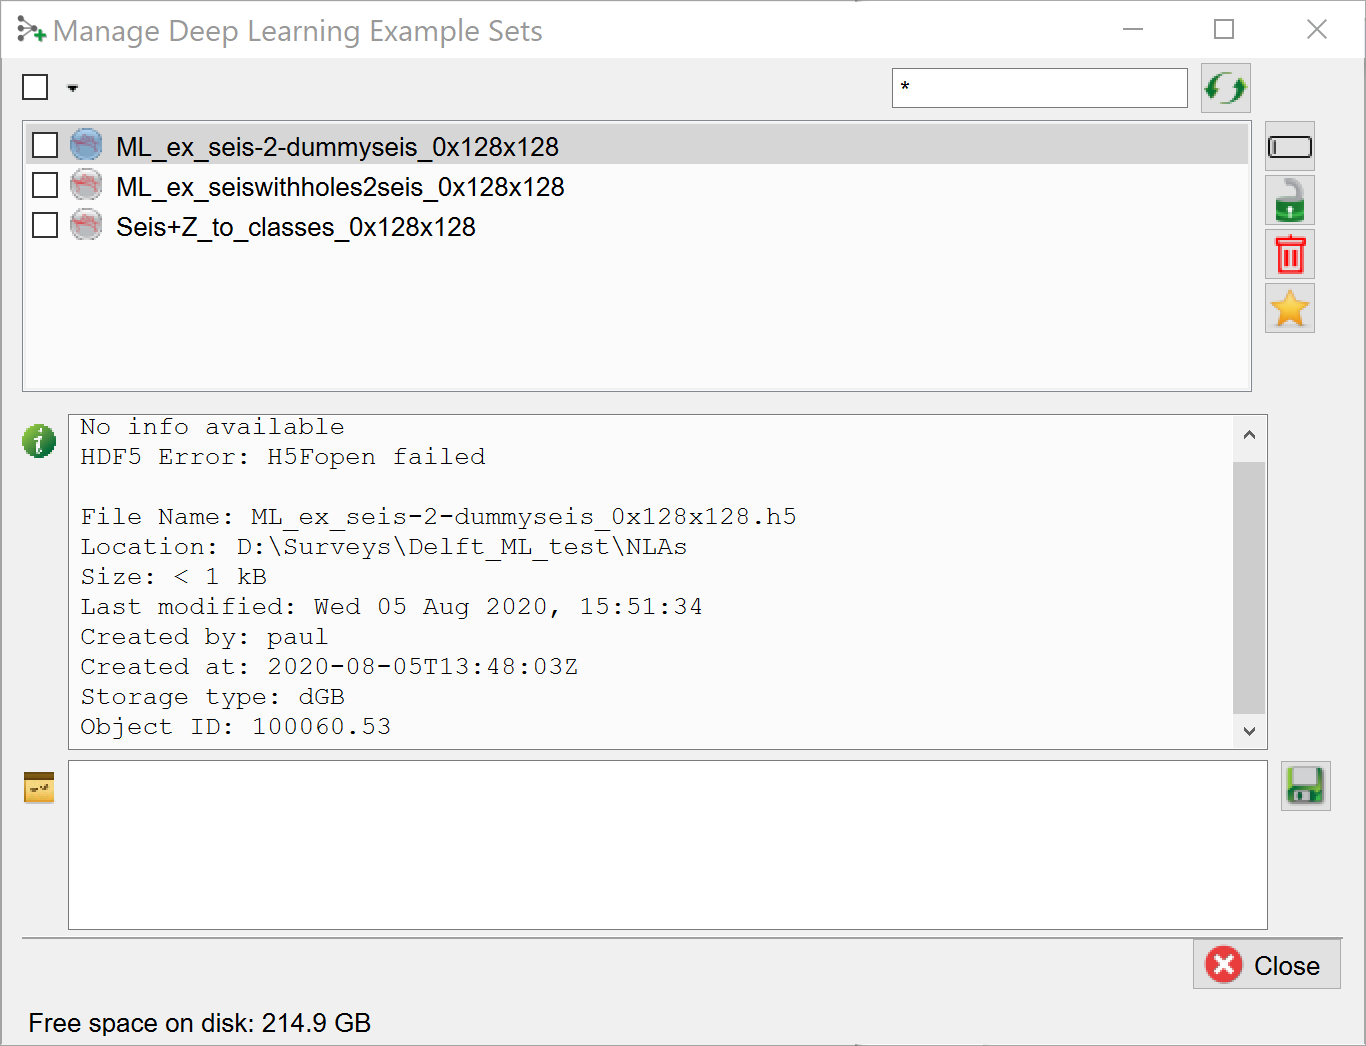
In this window you can use the corresponding icons in the ribbon on the right to rename, lock, remove and set defaults. The info box in the middle gives detailed information on the file. Personal textual information can be added in the bottom field. Press the save button to save this information with the file.
Example data sets can be viewed with an hdf5 viewer that is launched from all windows with the “View Example Sets” icon ![]() next to the “Manage Example Sets” icon. The “View Example Sets“ viewer pops up.
next to the “Manage Example Sets” icon. The “View Example Sets“ viewer pops up.
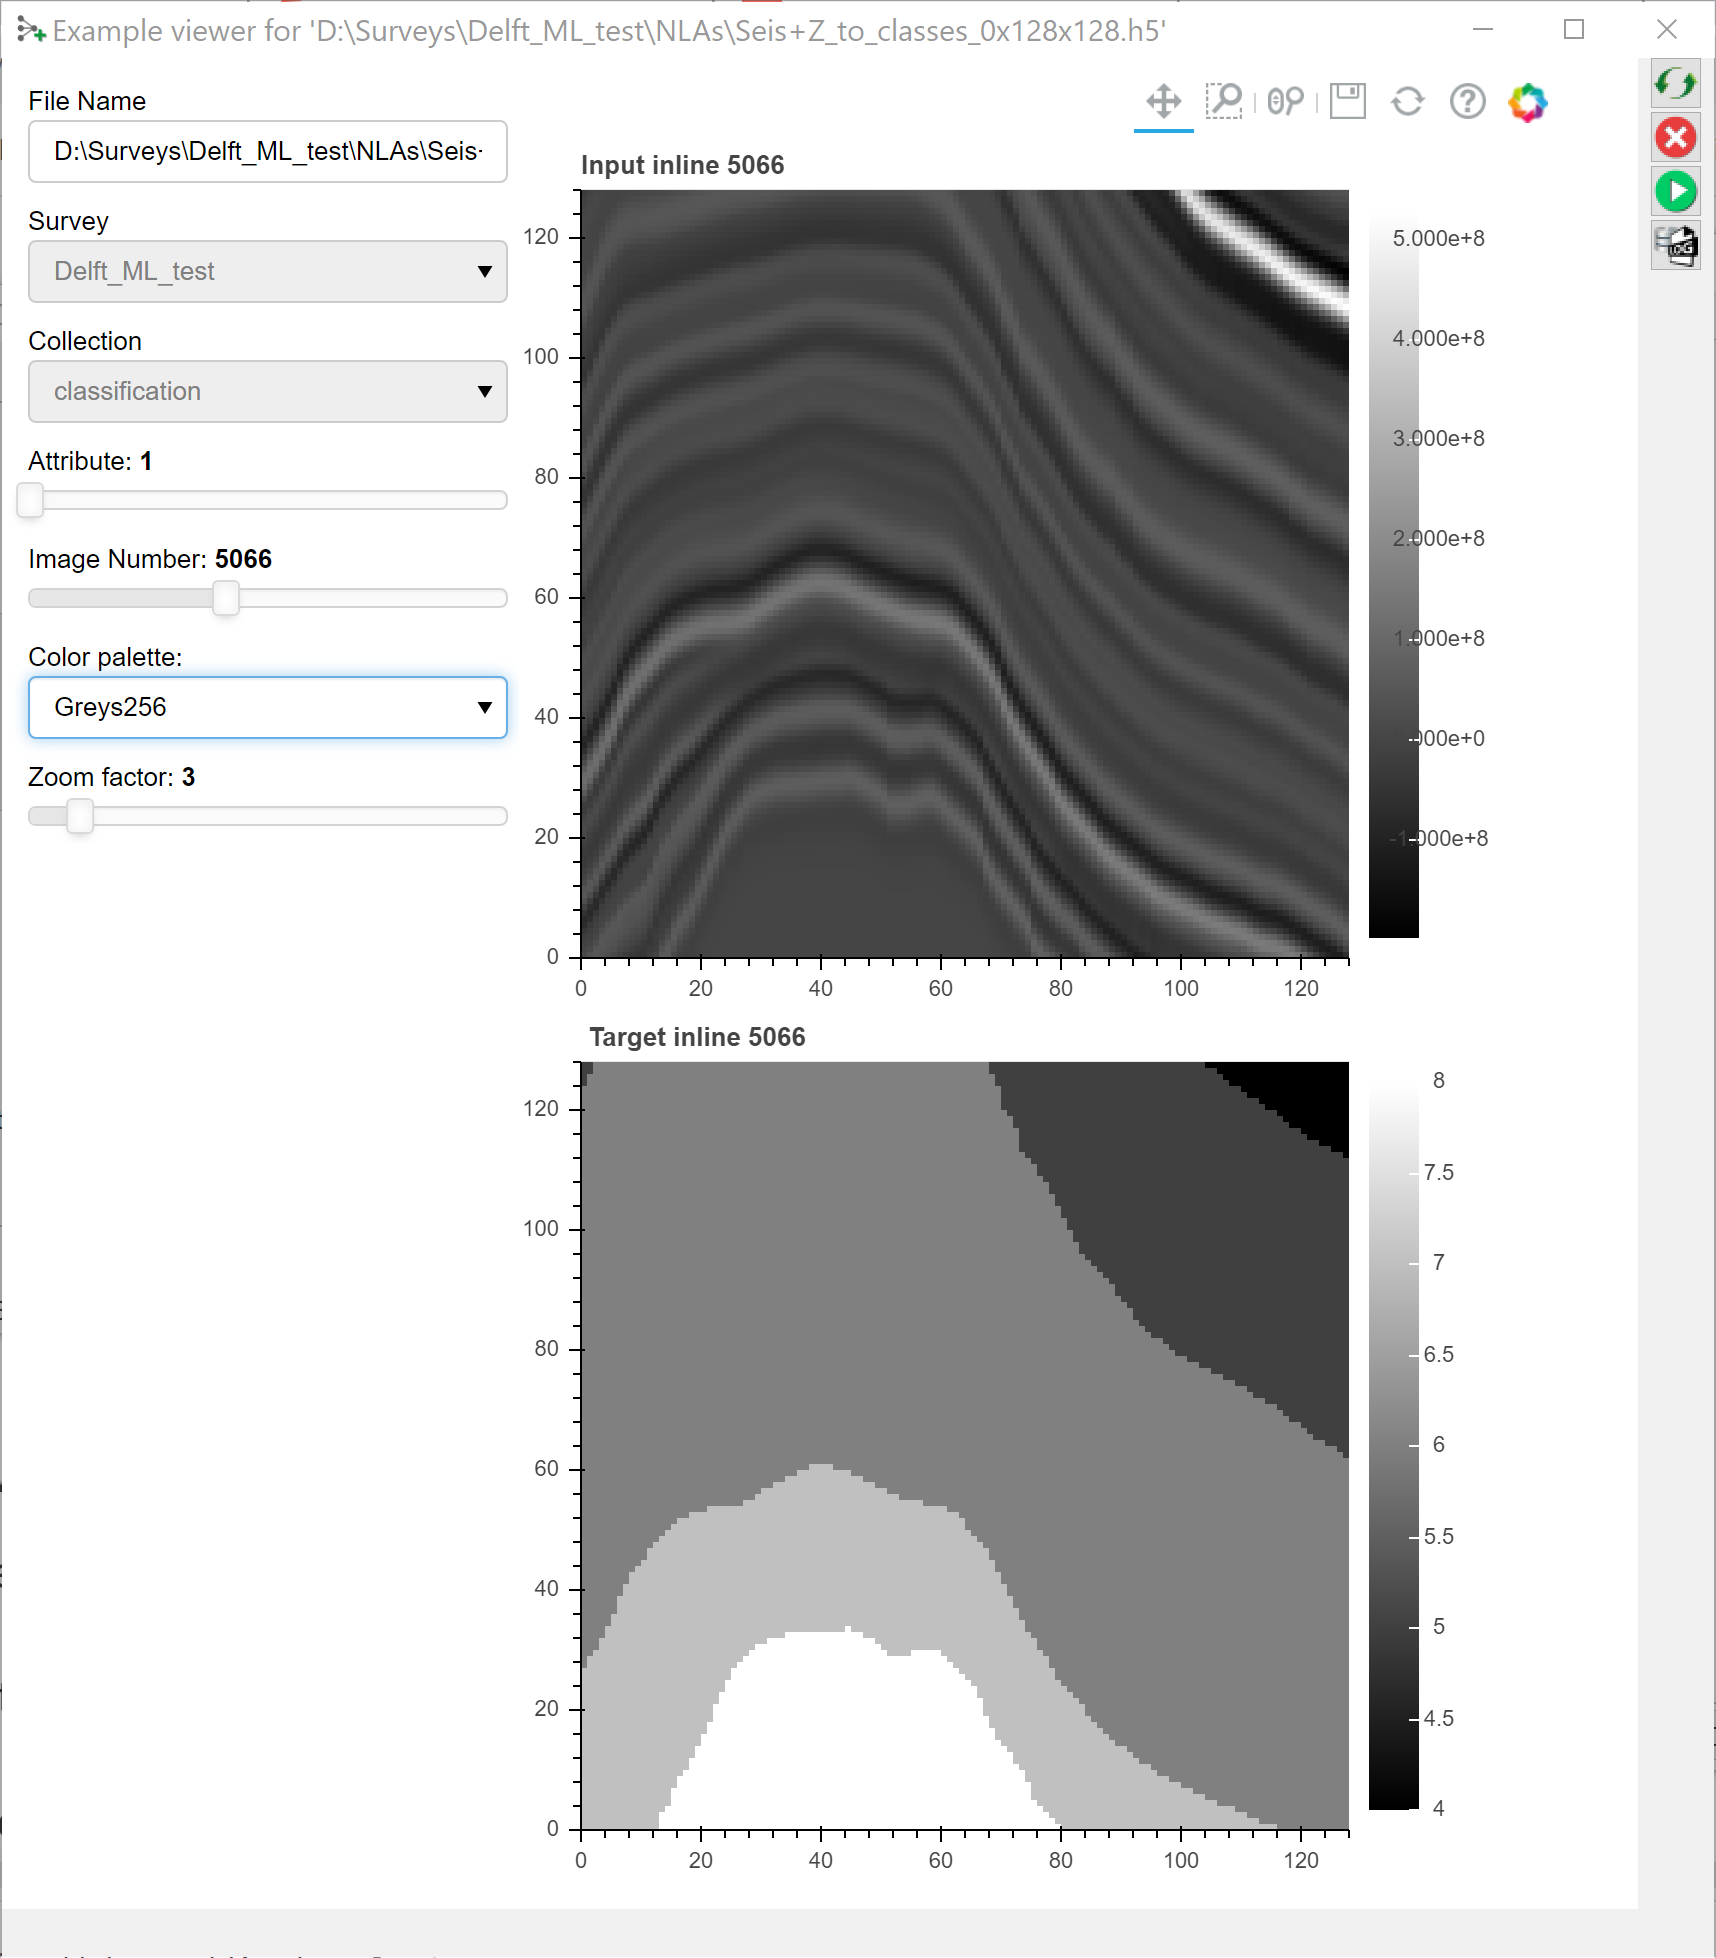
The hdf5 viewer is a 2D viewer that allows you to inspect 2D and 3D input - and target images. Use the sliders to select the input attribute (typically 1, but more are possible) and the input image to view. In the case of 3D images (3D cubelets) you can slide through the selected cubelet in the inline, crossline and Z directions with 3 additional sliders.
The display can be changed by changing the color palette and the zoom factor.
Note, the hdf5 viewer is developed in Bokeh, a Python library for interactive displays. The icons above the image are standard Bokeh plot icons to control zoom, pan, reset etc.
The Bokeh server icons in the ribbon on the right-hand side of the viewer can be used to start, stop and restart the Bokeh server in case something goes wrong. The Bokeh server is a separate process that is started by OpendTect. Information about this process is given in the log file that can be inspected by pressing the corresponding icon.