3.2 Python Settings, Data Flow and Data Management
The Python Settings Window is started from Utilities > Installation > Python Settings.

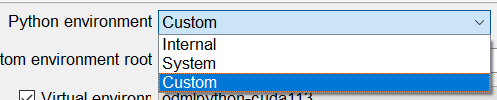
Users can change the Python environment here. OpendTect Machine Learning comes with its own Miniconda Python environment. If it has been installed then make sure that the Python environment is set to Internal. Users who prefer to work in a private Python environment will have to change the Python environment to Custom. When Custom environment is selected you need to specify the root of the environment. The remaining option System can be used if you want to use a system Python installation that is not a miniconda or anaconda installation. If you want more information about installing the Python environments please take a look in the Administrator’s Manual.
The Virtual environment: odmlpython-cuda113 runs models on the GPU; odmlpython-cpu-mkl runs on the CPU. Computations on a GPU are many factors faster than computations on a CPU. If the GPU in your environment is too small for certain jobs to run you can switch virtual environments to CPU usage.
Note:You may notice that the GPU is not using all its available resources for certain processes. Within the Machine Learning plugin, it is the Python application that is running either the training or the prediction, not OpendTect itself. Within Python, the performance and behavior of each process (training/prediction) depends entirely on the python module being used: It will be very different between Scikit Learn (CPU only, very small memory footprint), and Tensorflow (GPU or CPU, large memory utilization). We keep monitoring for any available updates for these Python packages and will implement these newer, improved versions immediately as they become available.
The Custom Module Path is the path for Python developers in which they develop private Machine Learning Models in this environment. All models in the given directory, which are named: ‘mlmodel….” will appear in the UI of the Machine Learning Control Center and can thus be applied to other data sets.
The Python IDE Command is the Python editor you wish to use. You can launch the IDE using the specified Command, Optionally with some Arguments from a Python Command Window. Alternatively, you can add an icon to your plugin toolbar by pressing the corresponding icon in this window. In this case the Jupyter-Notebook icon with Jupyter Notebook Tool Tip is added to the icon toolbar.
Pressing this icon from the toolbar will launch Jupyter Notebook with the correct settings.
The Python Console Command is the console you wish to use. You can launch the console using the specified Command. Alternatively, you can add an icon to your plugin toolbar by pressing the corresponding icon in this window. In this case the Windows Terminal icon with Windows Terminal Tool Tip is added to the icon toolbar.
The Python environment can be tested with the Test button. If the test is successful it will show the Python version and a list of installed modules.

The Python Console can be launched with the Launch Prompt button.
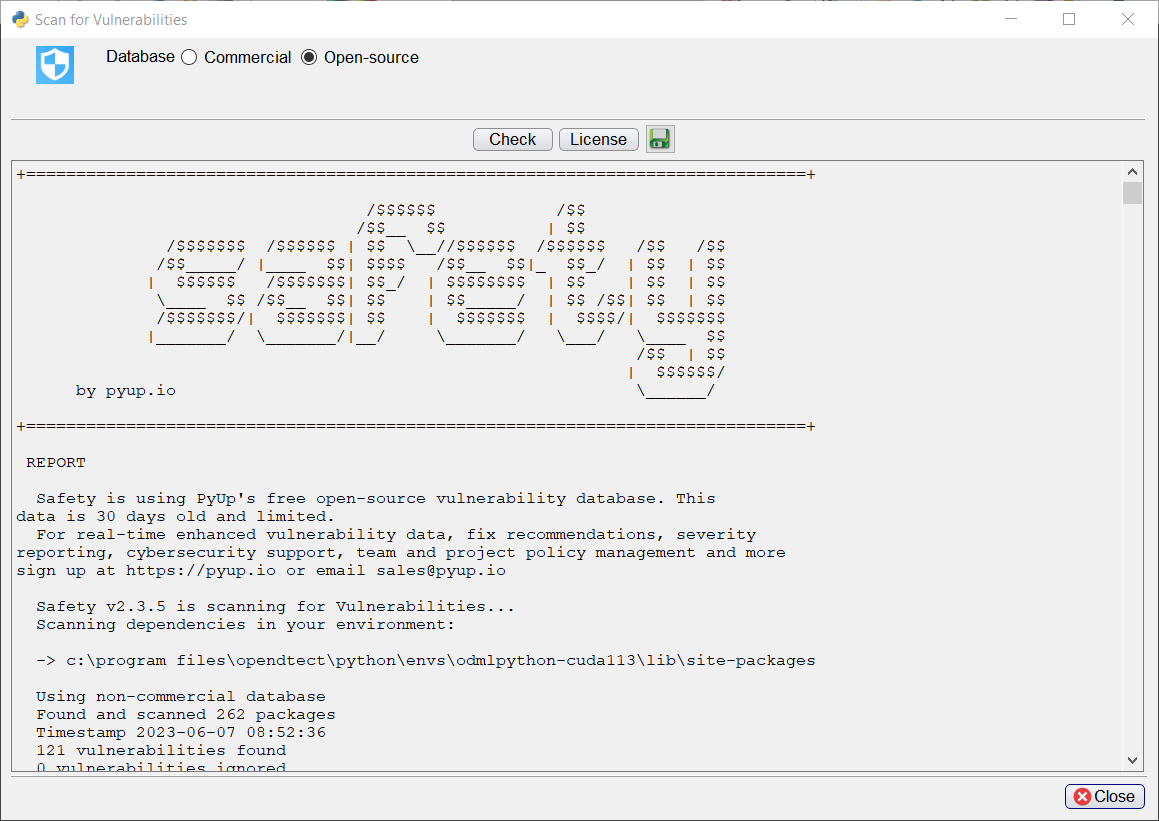
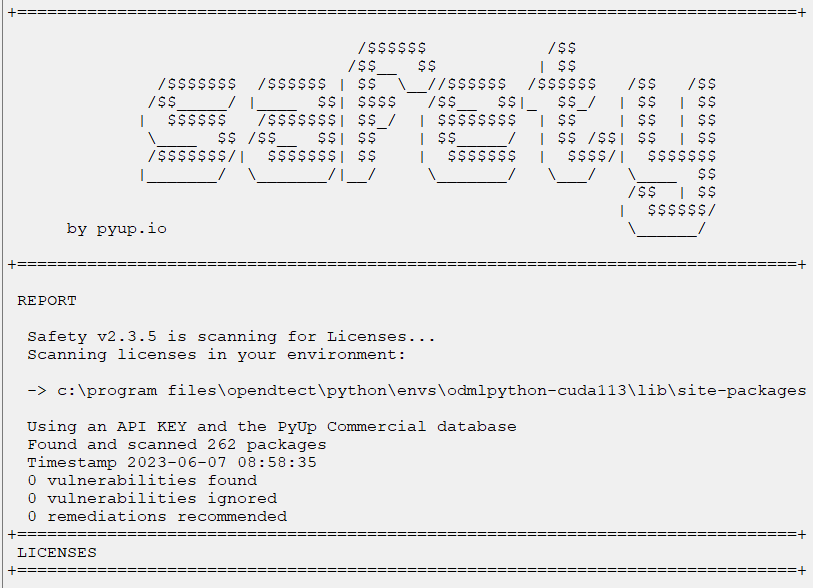
The Python modules in the Python environment can be scanned for vulnerabilities and checked for licenses with the Safety Check button. You can either use PyUp's Commercial or Open-source database. The free open-source database is 30 days old and limited. The Commercial database provides real-time enhanced vulnerability data and fix recommendations. In order to use the Commercial database or the scan for licenses feature you need a valid API key, which can be filled in the API key field. For more information about the API key please send an email to info@dgbes.com. With the ![]() icon the safety report can be saved.
icon the safety report can be saved.
The Python environment can be cloned by clicking the Clone Environment button.
The general flow of a Machine Learning workflow is as follows:
- Based on the data you have and the problem you want to solve: Select a workflow from the control center
- Create a Training Set. Construction starts with a selection of the Target (output) feature. Next you select the input features and the dimensions of the input features. Training Sets can be constructed from real data over multiple surveys or from synthetic data (SynthRock). Training Sets selection files can be saved, restored and edited. Training Sets themselves are stored in hdf5 format. These files can be managed from the Manage Machine Learning icon.
- Select a Model. Depending on the workflow the plugin supports Machine Learning Models from Scikit Learn , PyTorch and/or from Keras (TensorFlow). Set the Training Parameters and train the model. A Test Set to monitor Overfitting is automatically split off from the Training Set by the software. Models are also stored in hdf5 format and can be managed from the Manage Machine Learning icon.
- Monitor training. This is done in a log file that outputs information about the loss and accuracy of the model for both Training and Test Sets. Keras models are also monitored graphically in TensorBoard, which is started in your default browser when training starts. Models can be trained from scratch (New), continued from a stored model (Restore) and continued from a trained model with new data (Transfer). In Transfer training the convolutional parts of a deep learning model are not updated to safe time. Only the weights of the last layer are updated with the new training examples.
- Apply the trained model. Select the input data set(s) on which the trained models will be applied.
Training Sets can be managed in the “Machine Learning Deep Example Sets” window that is launched from all windows with a “Manage Example Sets” icon ![]() next to a Select button. The “Machine Learning Deep Example Sets” window pops up.
next to a Select button. The “Machine Learning Deep Example Sets” window pops up.
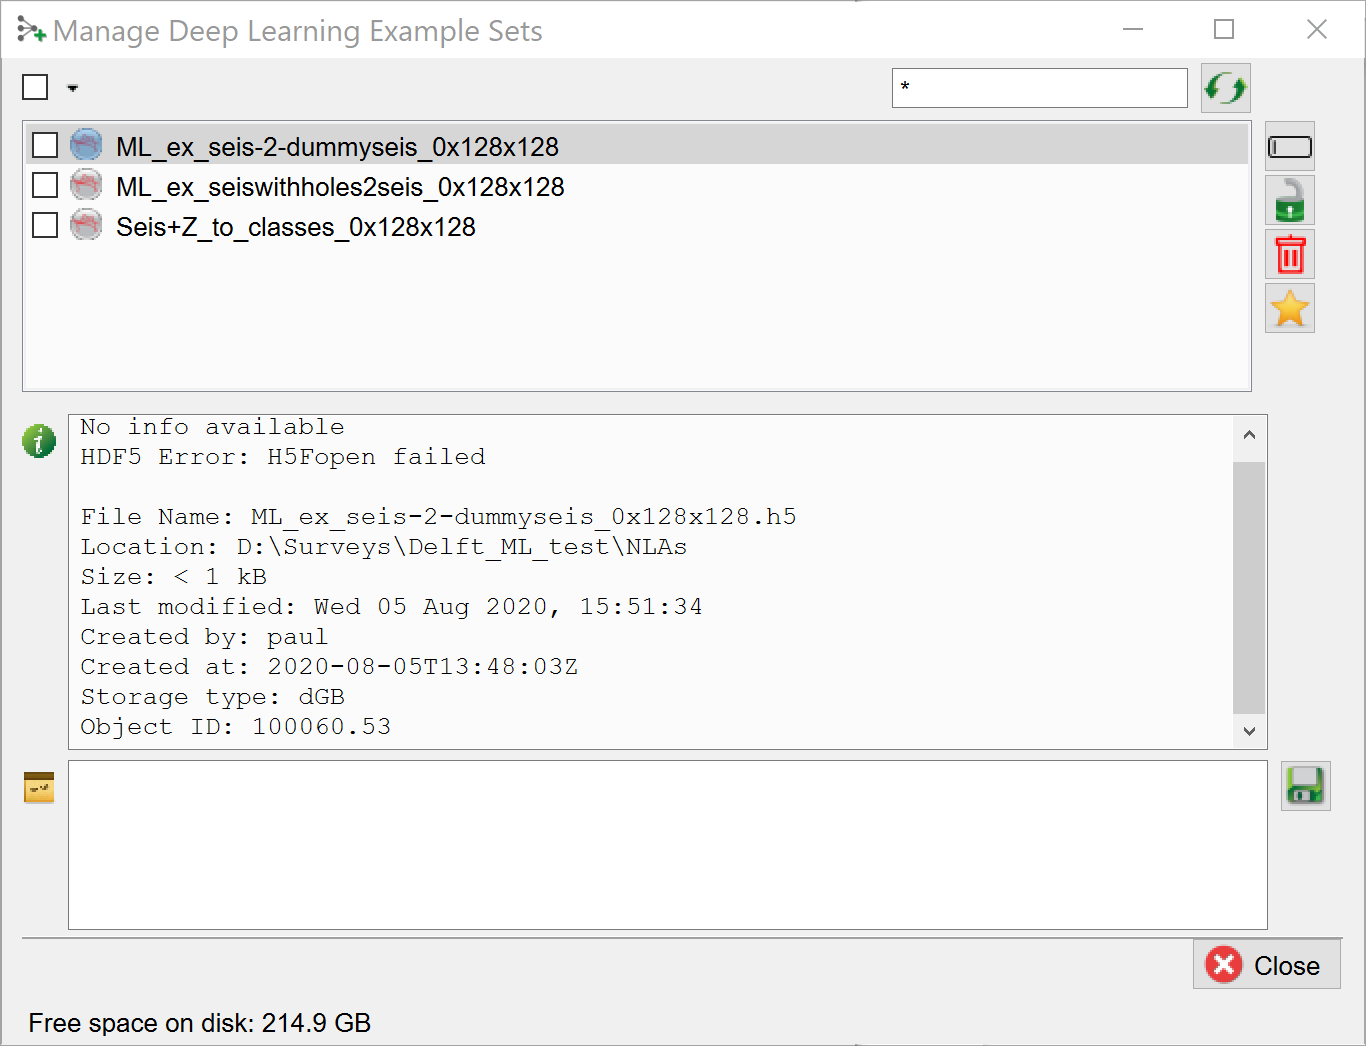
In this window you can use the corresponding icons in the ribbon on the right to rename, lock, remove and set defaults. The info box in the middle gives detailed information on the file. Personal textual information can be added in the bottom field. Press the save button to save this information with the file.
Example data sets can be viewed with an hdf5 viewer that is launched from all windows with the “View Example Sets” icon ![]() next to the “Manage Example Sets” icon. The “View Example Sets“ viewer pops up.
next to the “Manage Example Sets” icon. The “View Example Sets“ viewer pops up.
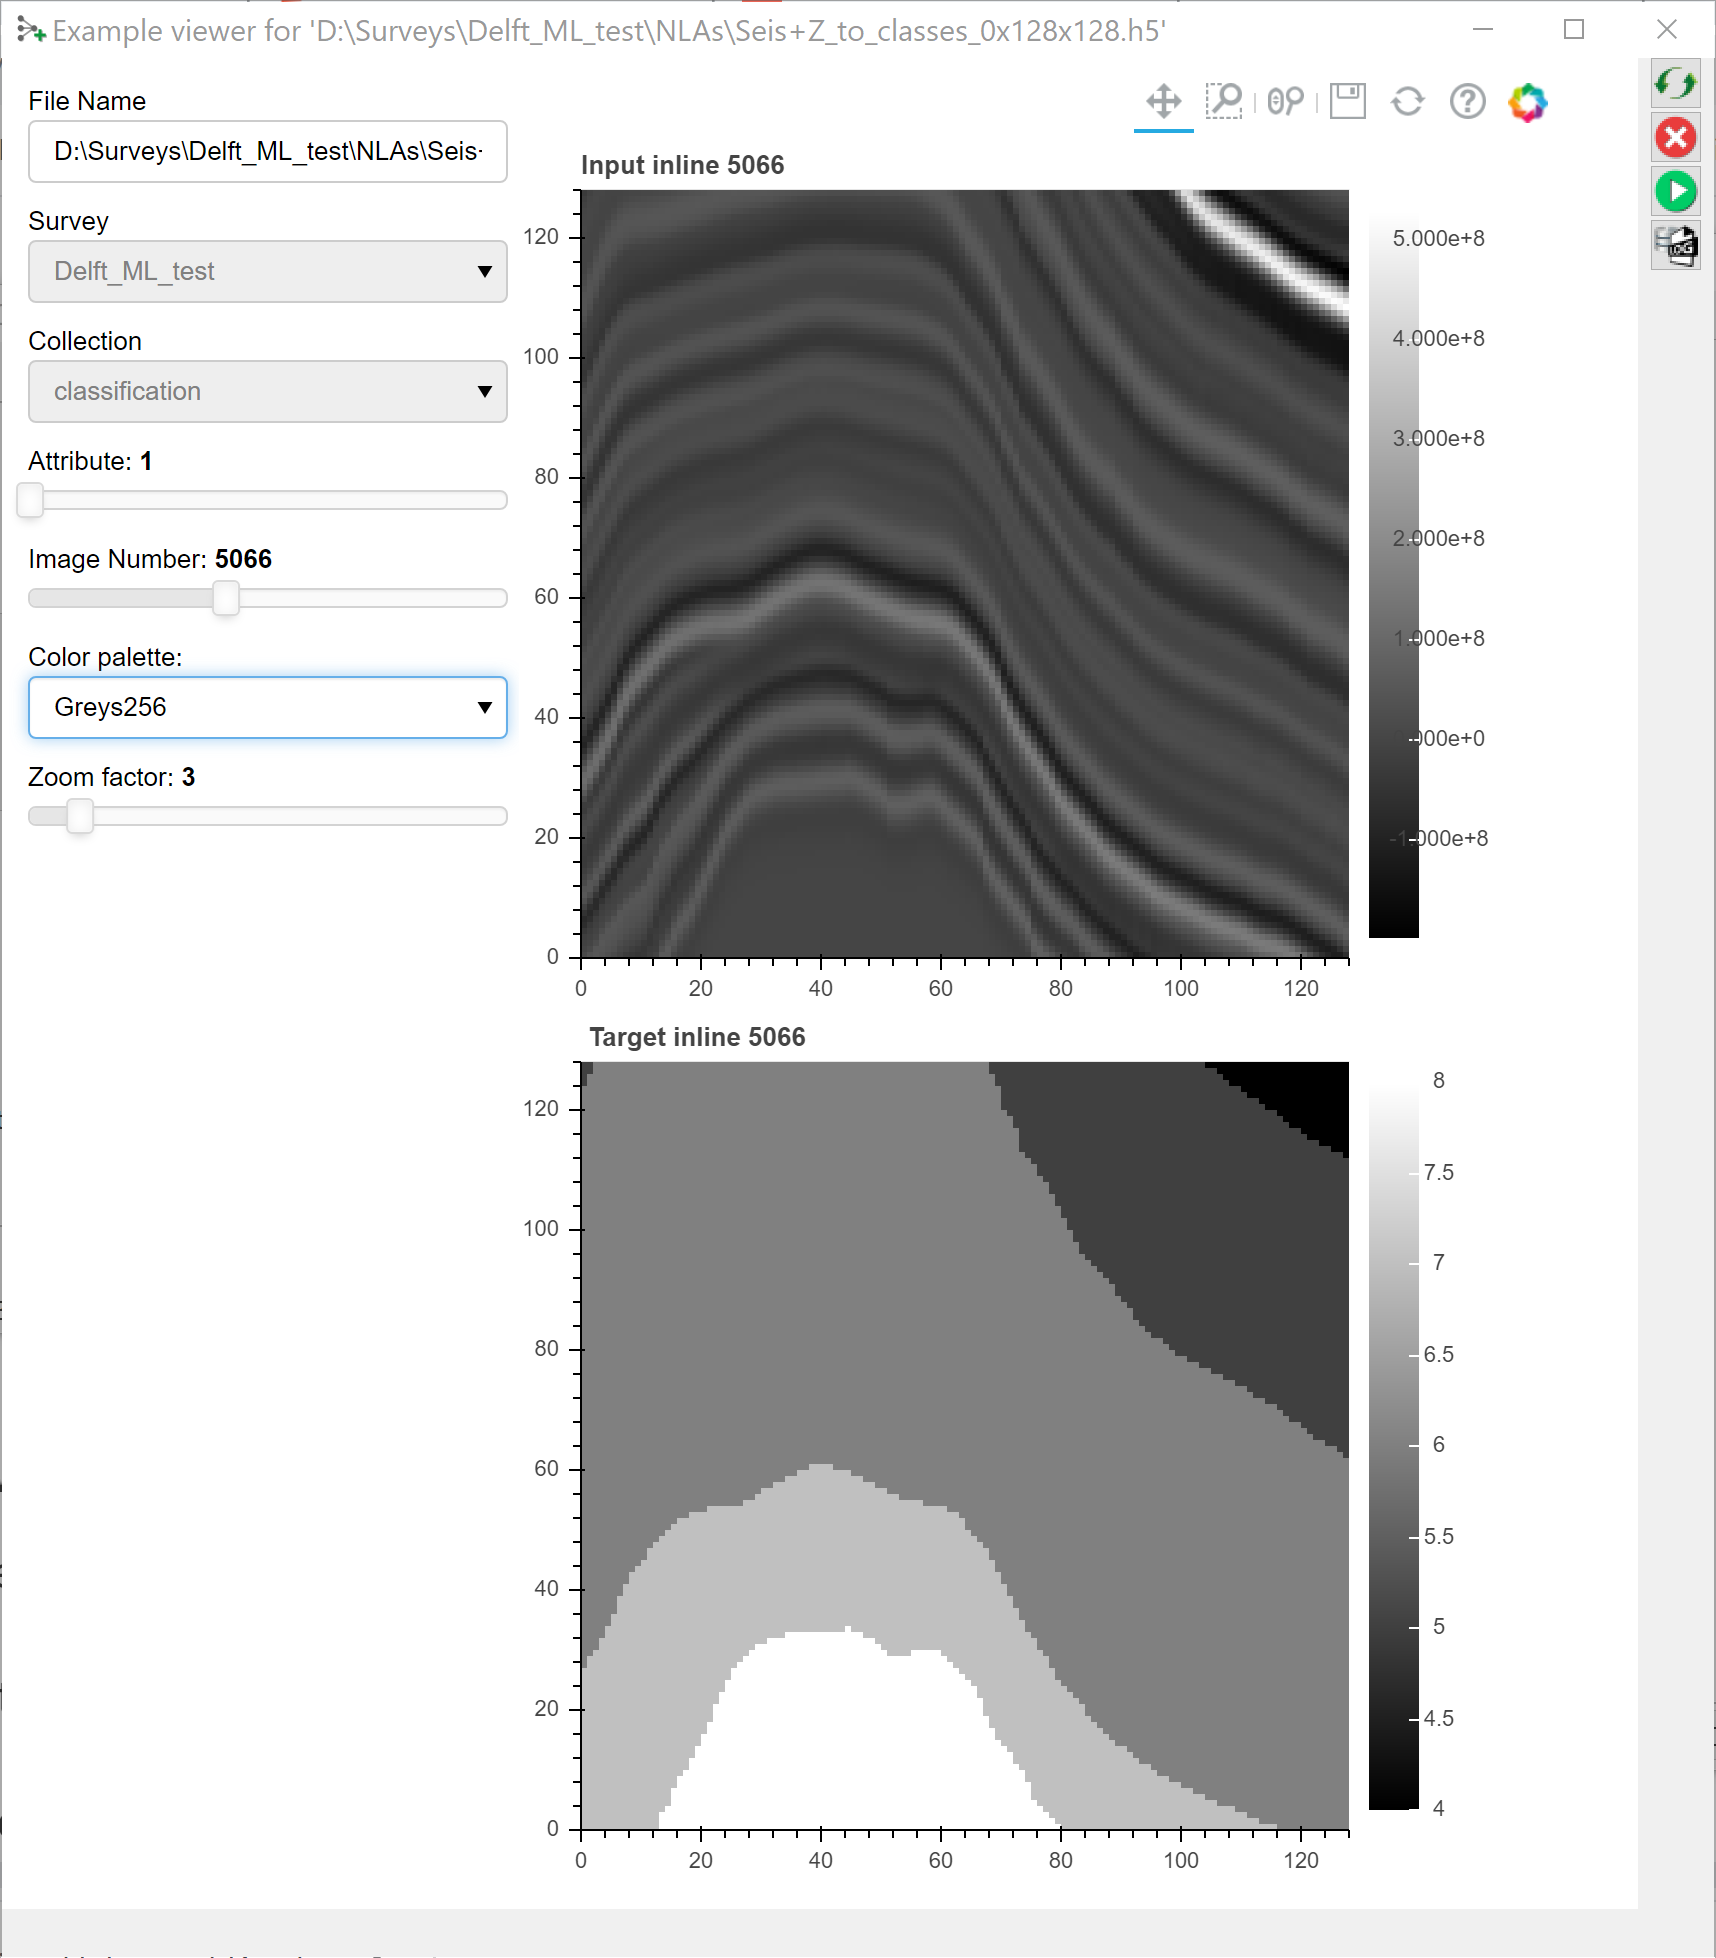
The hdf5 viewer is a 2D viewer that allows you to inspect 2D and 3D input - and target images. Use the sliders to select the input attribute (typically 1, but more are possible) and the input image to view. In the case of 3D images (3D cubelets) you can slide through the selected cubelet in the inline, crossline and Z directions with 3 additional sliders.
The display can be changed by changing the color palette and the zoom factor.
Note, the hdf5 viewer is developed in Bokeh, a Python library for interactive displays. The icons above the image are standard Bokeh plot icons to control zoom, pan, reset etc.
The Bokeh server icons in the ribbon on the right-hand side of the viewer can be used to start, stop and restart the Bokeh server in case something goes wrong. The Bokeh server is a separate process that is started by OpendTect. Information about this process is given in the log file that can be inspected by pressing the corresponding icon.