9.2 Vertical Velocity Analysis
From the VMB toolbar, launch the vertical velocity update window by pressing the corresponding icon ![]() .
.
The window is composed by a Common Image Gather from a single trace on the left, and the corresponding semblance plot on the right:
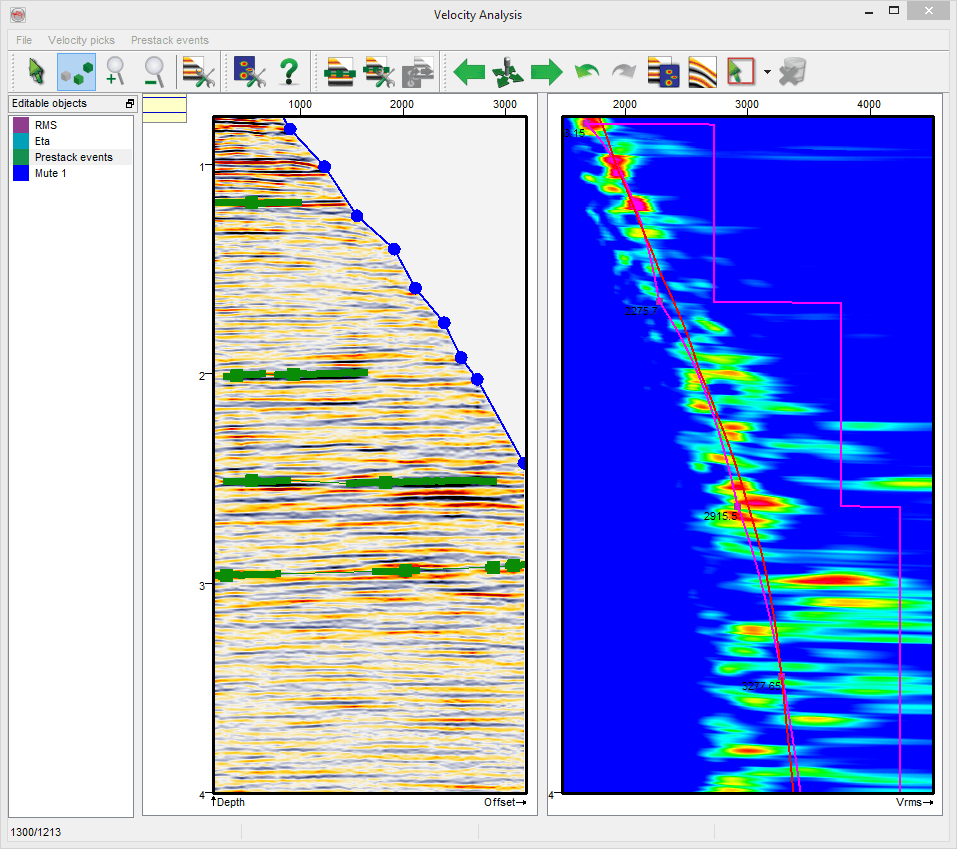
The display is annotated by separate display settings for both 2D viewers. The 2D viewer settings are similar to the standard 2D viewer, except that the semblance cannot be displayed using wiggles. Furthermore the semblance panel features one or two additional curves: The migration velocity (always shown) and the picked velocity, based on the velocity picks and migration velocity. Thus this second curve is shown once a velocity pick is made. If horizons are loaded in the main scene they will be shown as well in this vertical analysis window as horizontal coloured segments.
The velocity picks, mute definitions and tomography events are editable objects. As such they can be edited using the same tools as for the picksets and polygons: left click to add a new, hold left click to drag and drop an existing pick, ctrl+left click to remove. In all cases you must be in edit mode![]() and make sure that the object you would like to edit is highlighted/selected in the list of editable objects to apply those actions. Selection and removal tools are available to quickly remove a large number of pick on either the CIG (for mute and prestack events) or the semblance gather (for RMOs). You will first need to make a square
and make sure that the object you would like to edit is highlighted/selected in the list of editable objects to apply those actions. Selection and removal tools are available to quickly remove a large number of pick on either the CIG (for mute and prestack events) or the semblance gather (for RMOs). You will first need to make a square![]() or polygonal
or polygonal![]() selection before to press the trash icon
selection before to press the trash icon![]() , that will remove the selected picks. Before removing a large number of picks you might want to use the undo
, that will remove the selected picks. Before removing a large number of picks you might want to use the undo![]() and/or redo
and/or redo![]() buttons.
buttons.
Back in the view mode![]() you are able to zoom in
you are able to zoom in![]() and out
and out![]() on the panels, that always remain synchronized.
on the panels, that always remain synchronized.
When moving the cursor over the semblance panel you will see an overview of the RMO correction that is linked to your cursor position.
In the two viewer you can jump to any position using this toolbar icon![]() , that launches a CDP selection window:
, that launches a CDP selection window:

It is highly recommended to browse at start-up through the settings before picking a mute, RMO or tomography events. Those settings will be presented here below:
Settings: (available via File--> Settings...)
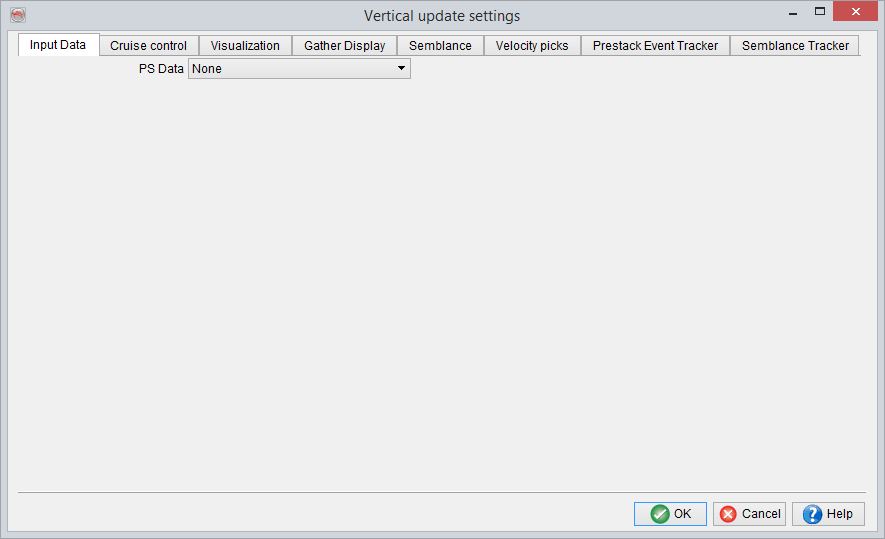
- Input data: You are requested to provide the prestack seismic data at the first launch, and specify the corresponding velocity model. The association will be stored and remembered for the next time.The prestack data, velocity, and poststack seismic data can be in time or depth. As mentioned in the base documentation the velocity type must be set between Interval velocities (time or depth) and RMS velocity (time only). In the time domain the migrated gather can be NMO corrected or not. This velocity correction can be applied using the corresponding pre-processing step. The CIG display settings are directly available using the icon
 .
.
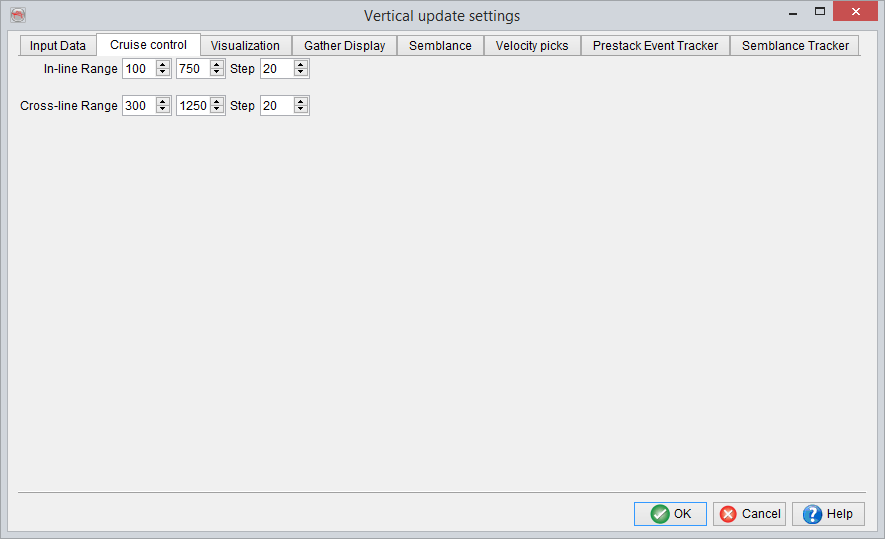
- Cruise control: Shortcuts are available during picking to go from one position to another. The cruise control settings define the positions that will be used for the quick browsing to the next
 or previous
 CIG. Nevertheless the other positions remain accessible for the analysis via the pick
 icon in the main 3D scene and set position icons
 . When picking your location in the main OpendTect scene you need to be in edit mode in main scene and to pick on an inline or crossline.
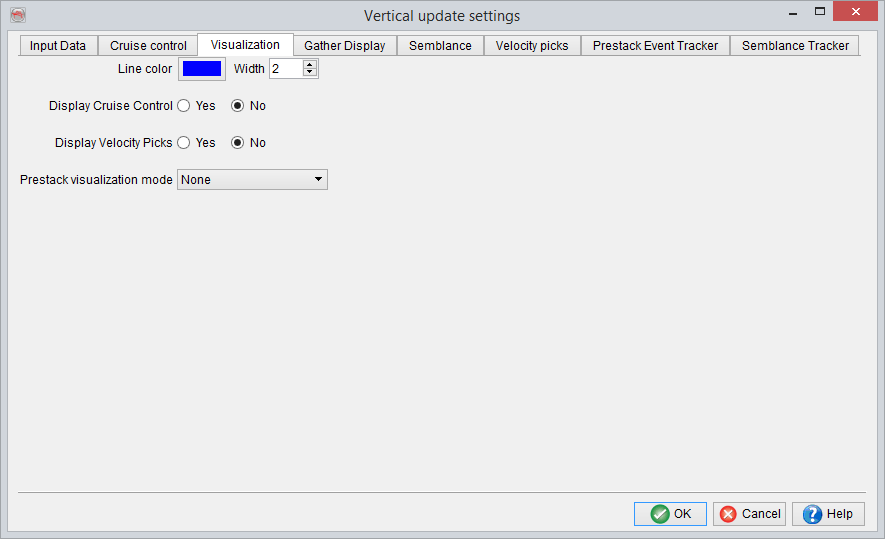
- Visualization: The visualization options enable you to display or hide the current analysis positions, all the positions defined from the cruise control settings, and the positions where RMO correction are picked. Those positions will be shown as vertical lines in the main OpendTect 3D scene. Optionally the cruise control positions and velocity picks may only be displayed at section, i.e. on the selected inlines and/or crosslines loaded in the scene. The current position will always remain visible. The last option allows the 3D visualization of the picked prestack events in the 3D scene
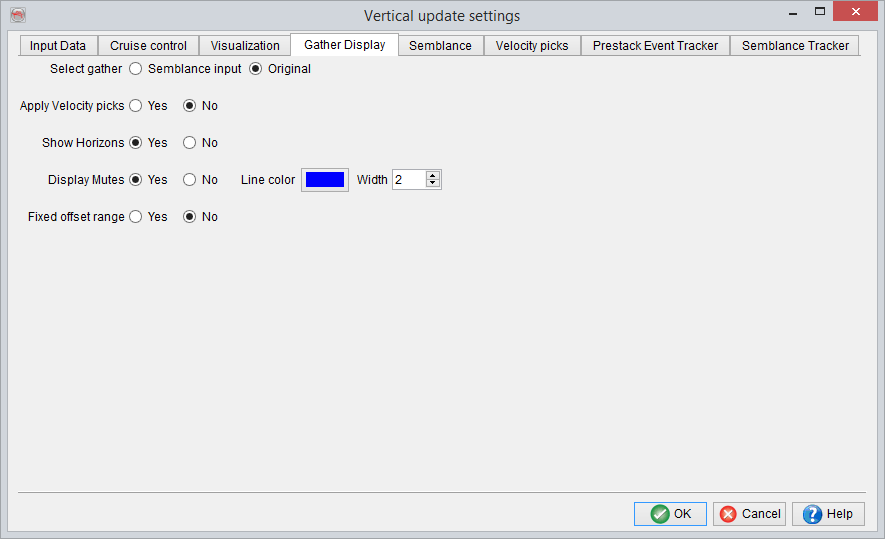
- Gather Display: Those settings will affect the CIG display. Two toggles are available: The gather may be displayed as existing on disk (original) or after the semblance pre-processing (semblance input, see semblance settings tab). The gather may be uncorrected
 (no application of RMO picks) or RMO corrected
 if at least one pick is available in the survey. The mute and horizon annotations may be switched on/off. Please note that the mute display is toggled off if the RMO correction is applied, and that the horizons will only be shown in the nearest offsets.
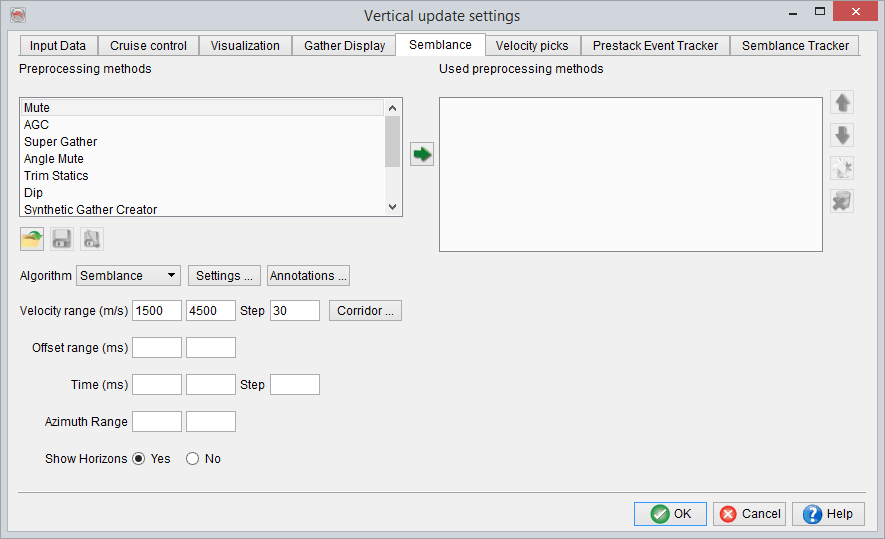
- Semblance: This setting tab is used to set the reference offset, RMO and velocity ranges, toggle on/off the horizon display, but more important it is meant to set and list the pre-processing methods applied to the gathers on disk before the semblance calculation: Mute, Automatic Gain Control and Vertical Stack are available. Please refer to the base documentation for a description of these pre-processing methods. Empty mutes might also be created from this tab by adding a mute step without name. When one or more pre-processing methods are used you can switch the seismic display between the prestack data as existing on disk
 or after pre-processing
 , i.e. the input to the semblance computation. The other semblance display settings are directly available using the icon
 .
.
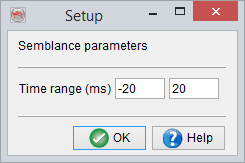
The following settings define the length of the time/depth gate used for the computation of the semblance:
Additional VMB-specific pre-processing method are available, like Velocity correction:
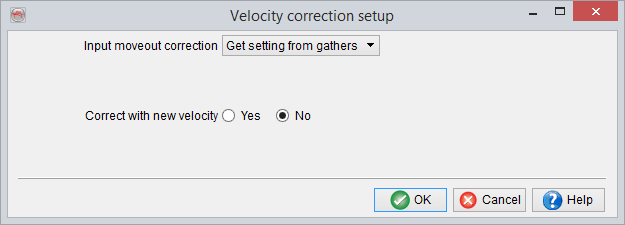
This pre-processing method will apply the velocity correction defined by the gridded velocity picks to the prestack data.
Semblance annotations Annotations for the semblance display can be set and saved as user default settings in the following window:

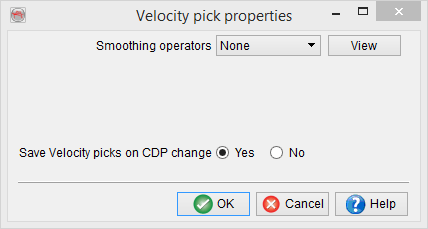
- Velocity picks: In this tab you can specify the tapering level and saving mechanism for the velocity picks. The main option is to set the tapering function and parameters used when deriving the new velocity curve from the velocity picks and migration velocity. The view option enables you to visualize the tapering functions.

Those settings can be retrieved from the Velocity picks menu with the option Properties:
- Prestack Event Tracker: The prestack event tracker presents similar options to the poststack horizon tracker. The tracking is based on the absolute or relative amplitude changes from trace to trace given a search window, optionally using the trace-to-trace similarity. Nevertheless given a single prestack event tracking you will be able to track both peaks and troughs on the CIG. This decision will be made based on the position of the first pick of each prestack event.
The seeds appear larger than the tracked positions, although both types are editable (movable or removable).
Futhermore there is always one active prestack event displayed using a thicker bold line, except if the cursor is outside of the search window of all existing seeds of the CIG. Any new pick will be append to the active prestack event if the cursor is within the search window of an existing pick, except if the keys control+shift are pressed when picking. In that case a new prestack event will be created.
On a new prestack gather the prestack may be picked and tracked![]() or autotracked
or autotracked ![]() . The autotracking is to be used at a new locations as it will become unavailable if one or more prestack events are picked. On the contrary at least one seed must exist before pressing the track option.
. The autotracking is to be used at a new locations as it will become unavailable if one or more prestack events are picked. On the contrary at least one seed must exist before pressing the track option.
The autotracking option is meant to use either the calculated semblance or the poststack horizons to create seeds for the autotracking of the prestack events. This option must be set in the tracking settings![]() before using the corresponding icons in the velocity analysis windows. All autotracked events can be edited afterwards.
before using the corresponding icons in the velocity analysis windows. All autotracked events can be edited afterwards.
Those settings can be retrieved from the Prestack event menu with the option Properties:
- Semblance Tracker: The Velocity picks can be tracked by following the picked RMOs between the previous location and the current position using the semblances panels at both locations, or optionally using all intermediate semblance panels. Most of the settings are once again very similar to the horizon tracker and prestack events tracker.
Those settings can be retrieved from this icon![]() in the toolbar:
in the toolbar: